A complete step-by-step guide for perfect, professional results.
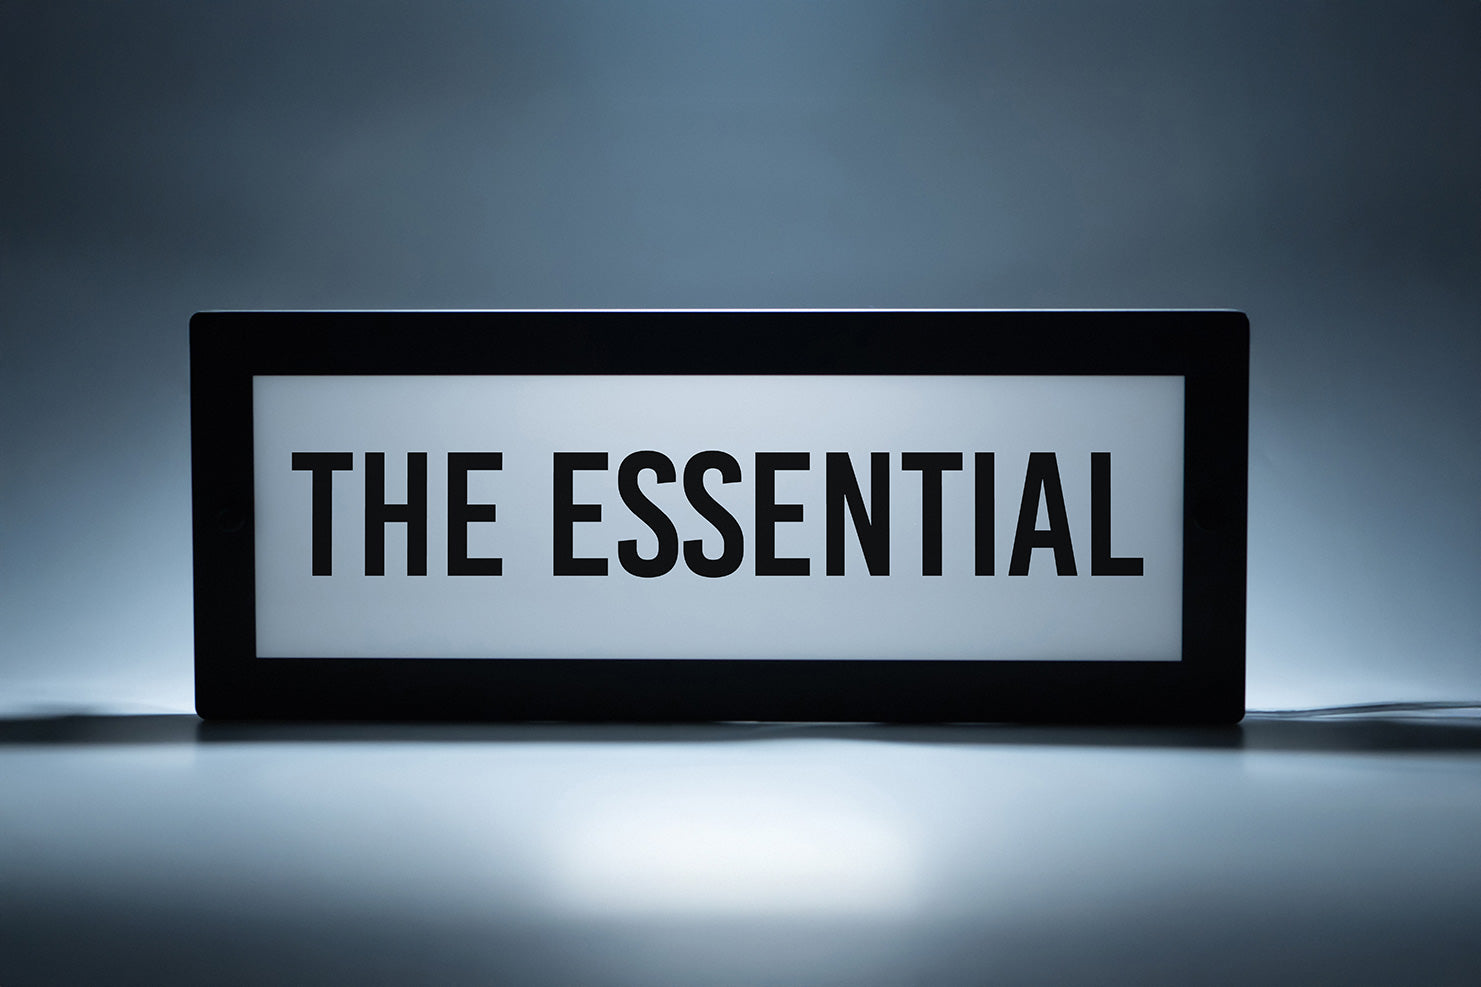
Once you’ve finished applying your stickers and customising The Essential, the final step is getting it mounted securely and professionally on your wall.
Whether you're installing it in a business, a studio, or at home, the process is simple, quick, and requires only a few basic tools.
In this guide, we’ll walk you through everything you need to know, from marking your holes to tightening the final bolts, so your sign sits straight, secure, and beautifully displayed.
What You’ll Need
Before you begin, gather the following tools:
- Pencil
- Drill
- Drill Bits:
- 5mm (for walls that require plugs)
- 3mm (for pilot holes when drilling into timber)
- Level
- Screwdriver
- The two included wall-mounts ( Wall plugs if going into concrete or plasterboard )
Having everything within reach will make the installation smooth and hassle free.

Step 1: Position Your Sign on the Wall
Start by holding The Essential against the wall at the height and location you want it to live. This is where it’s worth taking your time, a well-placed sign looks intentional and professional.
Place your level across the top edge of the sign and adjust the position until the bubble sits centred. A perfectly levelled sign ensures a clean, polished look.

Step 2: Mark the Mounting Points
While holding the sign steady, use your pencil to mark the two pre-designed mounting hole locations directly onto the wall.
These marks will guide where your screws and wall mounts will sit.
Pro Tip: Make sure the sign doesn’t shift while marking. A small movement here can throw off the final alignment.

Step 3: Drill Your Pilot Holes
With your marks in place, it’s time to drill.
- If you're fixing directly into timber, drill straight into the marks using a 3mm drill bit to create pilot holes.
- If you're mounting into plaster, brick, or another hollow/solid surface, use a 5mm drill bit and install appropriate wall plugs.
Your pilot holes ensure the screws go in cleanly and the mounts hold firmly.

Step 4: Prepare and Install the Wall Mounts
Each sign comes with two circular wall mounts. Unscrew the front bolt from each mount and set the bolts aside.
Place a screw through the centre of each mount and position it over the holes you drilled. Using your screwdriver, fasten each mount securely to the wall.
Make sure they sit firmly and flush, these mounts will carry the weight of your sign.

Step 5: Attach the Sign
Take The Essential and align the mounting holes with the mounts you’ve just installed. Once aligned, insert the bolts and tighten them back into place.
As the bolts tighten, they lock the sign firmly to the wall.
You’ll feel it secure itself into position.

Step 6: Connect and Manage Your Cable
Plug your sign into power and tidy any visible cabling. Whether you prefer a clean drop, clips, or hidden routing, cable management gives your setup that final, professional touch.
Once powered, The Essential will illuminate and your installation is complete.

All Done!
Step back and admire your work.
Your Essential is now securely mounted.