A complete step-by-step guide for perfect, professional results.
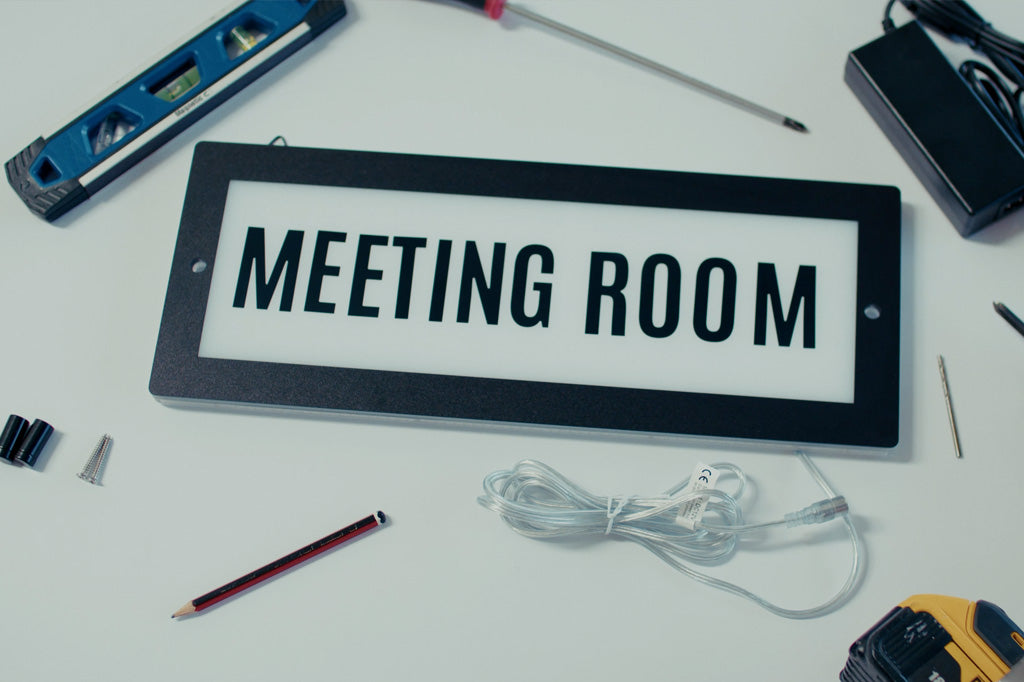
Your Essential has arrived, and you’re ready to transform it into a clean, timeless piece of signage for your space. Whether you're preparing an Open sign, labelling bathrooms, or creating a pickup counter message, applying your letters correctly ensures a crisp, professional finish every time.
This guide walks you through the full process, from planning your layout to applying your vinyl letters with confidence.
What you'll need:
Before you begin, gather the following items:
- Sticker sheets
- The Essential template
- Wall mounts
- Ruler
- Scissors
- Microfibre cloth
Having everything on hand will help the process go smoothly.

1. Plan your message
Start by deciding what you want your sign to say. It can be helpful to jot down a few options on paper first. This gives you a chance to visualise different word choices and see how they might fit on the lightbox. We like to say that comfortably you can fit 12 letters, but have a play and see what works for your space.
Tip: Shorter phrases often look cleaner and read more clearly from a distance.

2. Cut out your letters
Rather than applying letters directly from the sheet, begin by cutting out each individual letter using scissors.
Why?
Cutting the letters out first lets you move them around freely, experiment with spacing, and preview your layout without committing to anything yet.
 3. Arrange the Letters
on Your Sign
Place your cut out letters onto The Essential (don’t peel the backing yet).
This step helps you:
- Test spacing
- Centre your wording
- Adjust alignment
- Ensure everything fits comfortably
At this stage, nothing is permanent, feel free to shuffle the letters around until you’re happy.

4. Attach the Template
to Your Sign
Next, take the supplied template sheet.
This template is designed to help you precisely line up your letters.
- Lay the template over the face of your sign.
- Align the two circular holes on the template with the mounting holes on The Essential.
- Take two of the wall mounts and unscrew the bolts.
- Insert the bolts through the template and into the sign to secure the template in place.
The template should sit flat and locked in securely.

5. Understand Your Template Grid
Your template includes:
- A centre point
- A grid marked in 0.5 cm increments
This grid is essential for achieving straight, evenly spaced lettering. It serves as your guide for both horizontal alignment and spacing between characters.

6. Final Letter Placement & Spacing
Now that your template is secured:
- Begin placing your unpeeled letters on the sign again, but this time using the grid for guidance.
- Adjust each letter to ensure your text is perfectly centred and aligned.
- Use a ruler as a straight edge along the grid lines to keep everything neat and consistent.
Take your time, proper spacing is what gives the sign its professional look.

7. Apply Your Stickers
Once you’re confident in your final layout:
- Start peeling the backing off each sticker.
- Apply each letter carefully to the sign, following the exact placement you’ve set.
- Press firmly to ensure the vinyl adheres smoothly and without bubbles.
- Continue until all letters are applied.

8. Remove the Template
& Clean Your Sign
With all stickers applied:
- Remove the bolts and gently remove the template sheet.
-
Use your microfibre cloth to wipe down the face of the sign.
This removes any dust or fingerprints and helps press the vinyl firmly into place.
Your sign should now look clean, polished, and ready to install.

9. Store Your Template & Leftover Letters
Don’t throw anything away.
Fold your template and store your unused letters somewhere safe.
One of the best features of The Essential is that it's repurposable, you can refresh your messaging anytime without buying a new sign.
Having your materials stored properly makes future updates effortless.

10. Install & Enjoy Your Finished Sign
With your lettering complete, your Essential is ready to be mounted or displayed using your preferred method.
Step back and admire your work.
you’ve just created a clean, professional, fully customised sign perfectly tailored to your space.